A guide to lighting and sound for performer self-tapes from Spotlight’s Audio Visual Specialist, Nicholas Peel.
If you’ve read our article about setting up and filming self-tapes and are ready to learn more about lighting and recording sound, then this is the guide for you! Nicholas gives his tips and kit recommendations if you’re ready to take the self-tape recording to the next level.
If you’re filming with natural light, don’t film with the performer standing in front of windows as they’ll appear as a silhouette on camera
Lighting Self-tapes
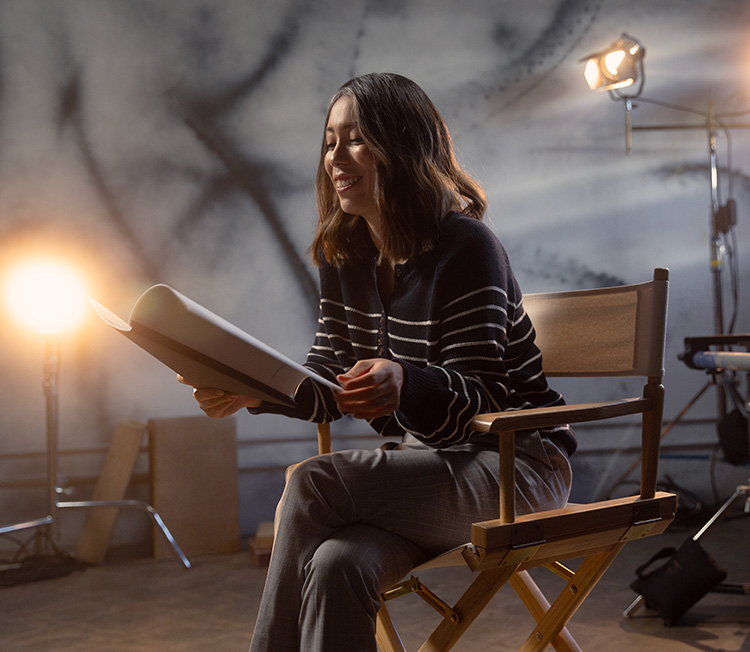
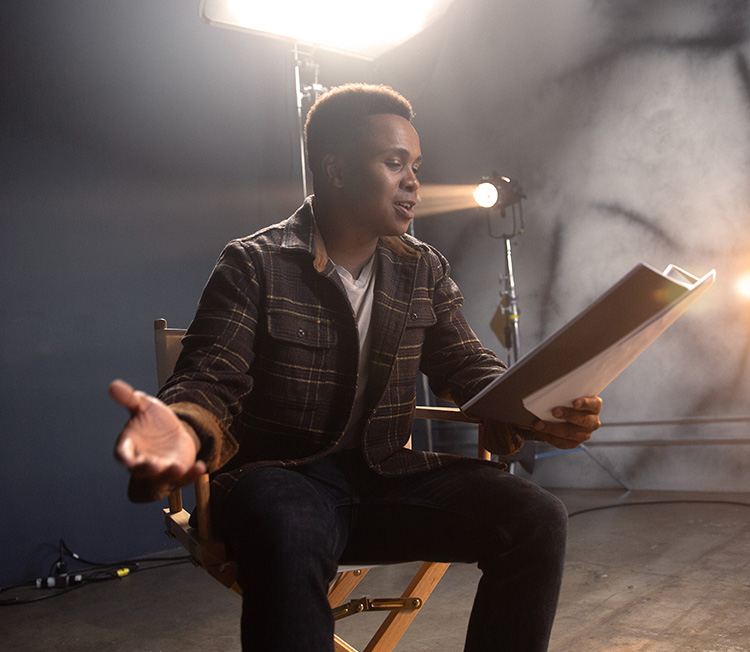
Lighting is important when it comes to making self-tapes look amazing. You can use natural light but if you are in the UK you can’t always guarantee the sun will be out so it may be worth investing in some studio lights for those dark and dreary days. If you Google ‘video softbox’, you’ll find some brilliant plug-in studio lights on stands that cost around £30 each.
There are two different types of light:
- Soft light is from a large source, which casts few shadows on a subject and is flattering on people’s skin tones.
- Hard light is from a small source and casts sharp shadows on the subject. Be aware that if you’re filming using your smartphone, the light can cast hard shadows and create a hotspot that makes skin look a bit odd.
Our top lighting tips:
- Make the best use of windows. If you’re filming with natural light, don’t film with the performer standing in front of windows as they’ll appear as a silhouette on camera. Instead, place the camera between the performer and the window, with the performer facing the window so their face is lit with the sun’s light.
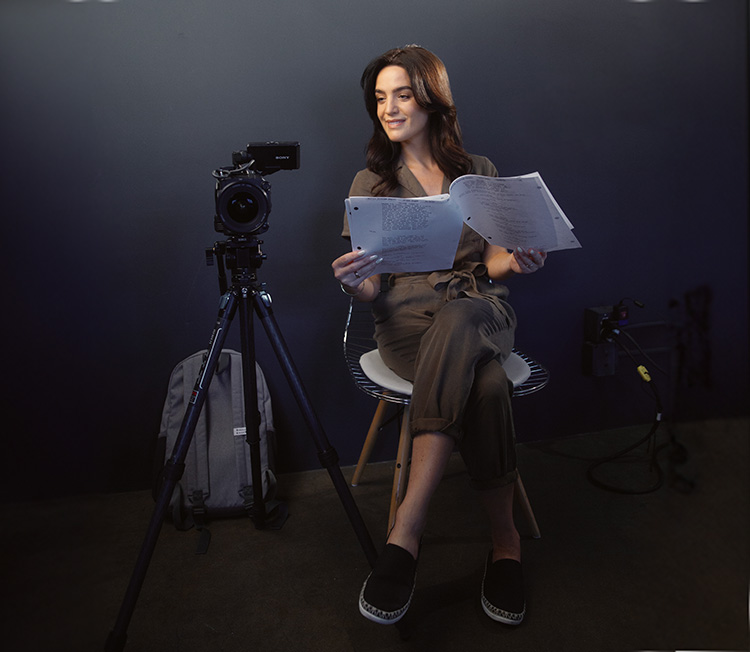
- Performer placement. Try and get the performer to sit or stand 1m from the wall to avoid too much shadowing.
- Light placement. If you’re filming with lights, make sure that the performer’s face is exposed correctly, and that the eyes are well lit. When filming children, don’t put the lights too close to them as it can cause glare and be uncomfortable. Try placing the lights 1.5m – 2m away and setting the exposure on the camera so that the skin tones are bright but not losing detail.
- Avoid using ring lights. These tend to put rings in the performer’s eyes, which isn’t really appropriate for self-tapes.
- White balance. If the performer’s skin tone doesn’t look quite right, you may need to adjust the white balance on your camera. You should refer to your camera’s instructions for information about how to do this.
Noises at home will sound louder on camera than it actually does to your ear so be sure to turn off anything making sound or pick somewhere quieter to record
Self-tape Sound
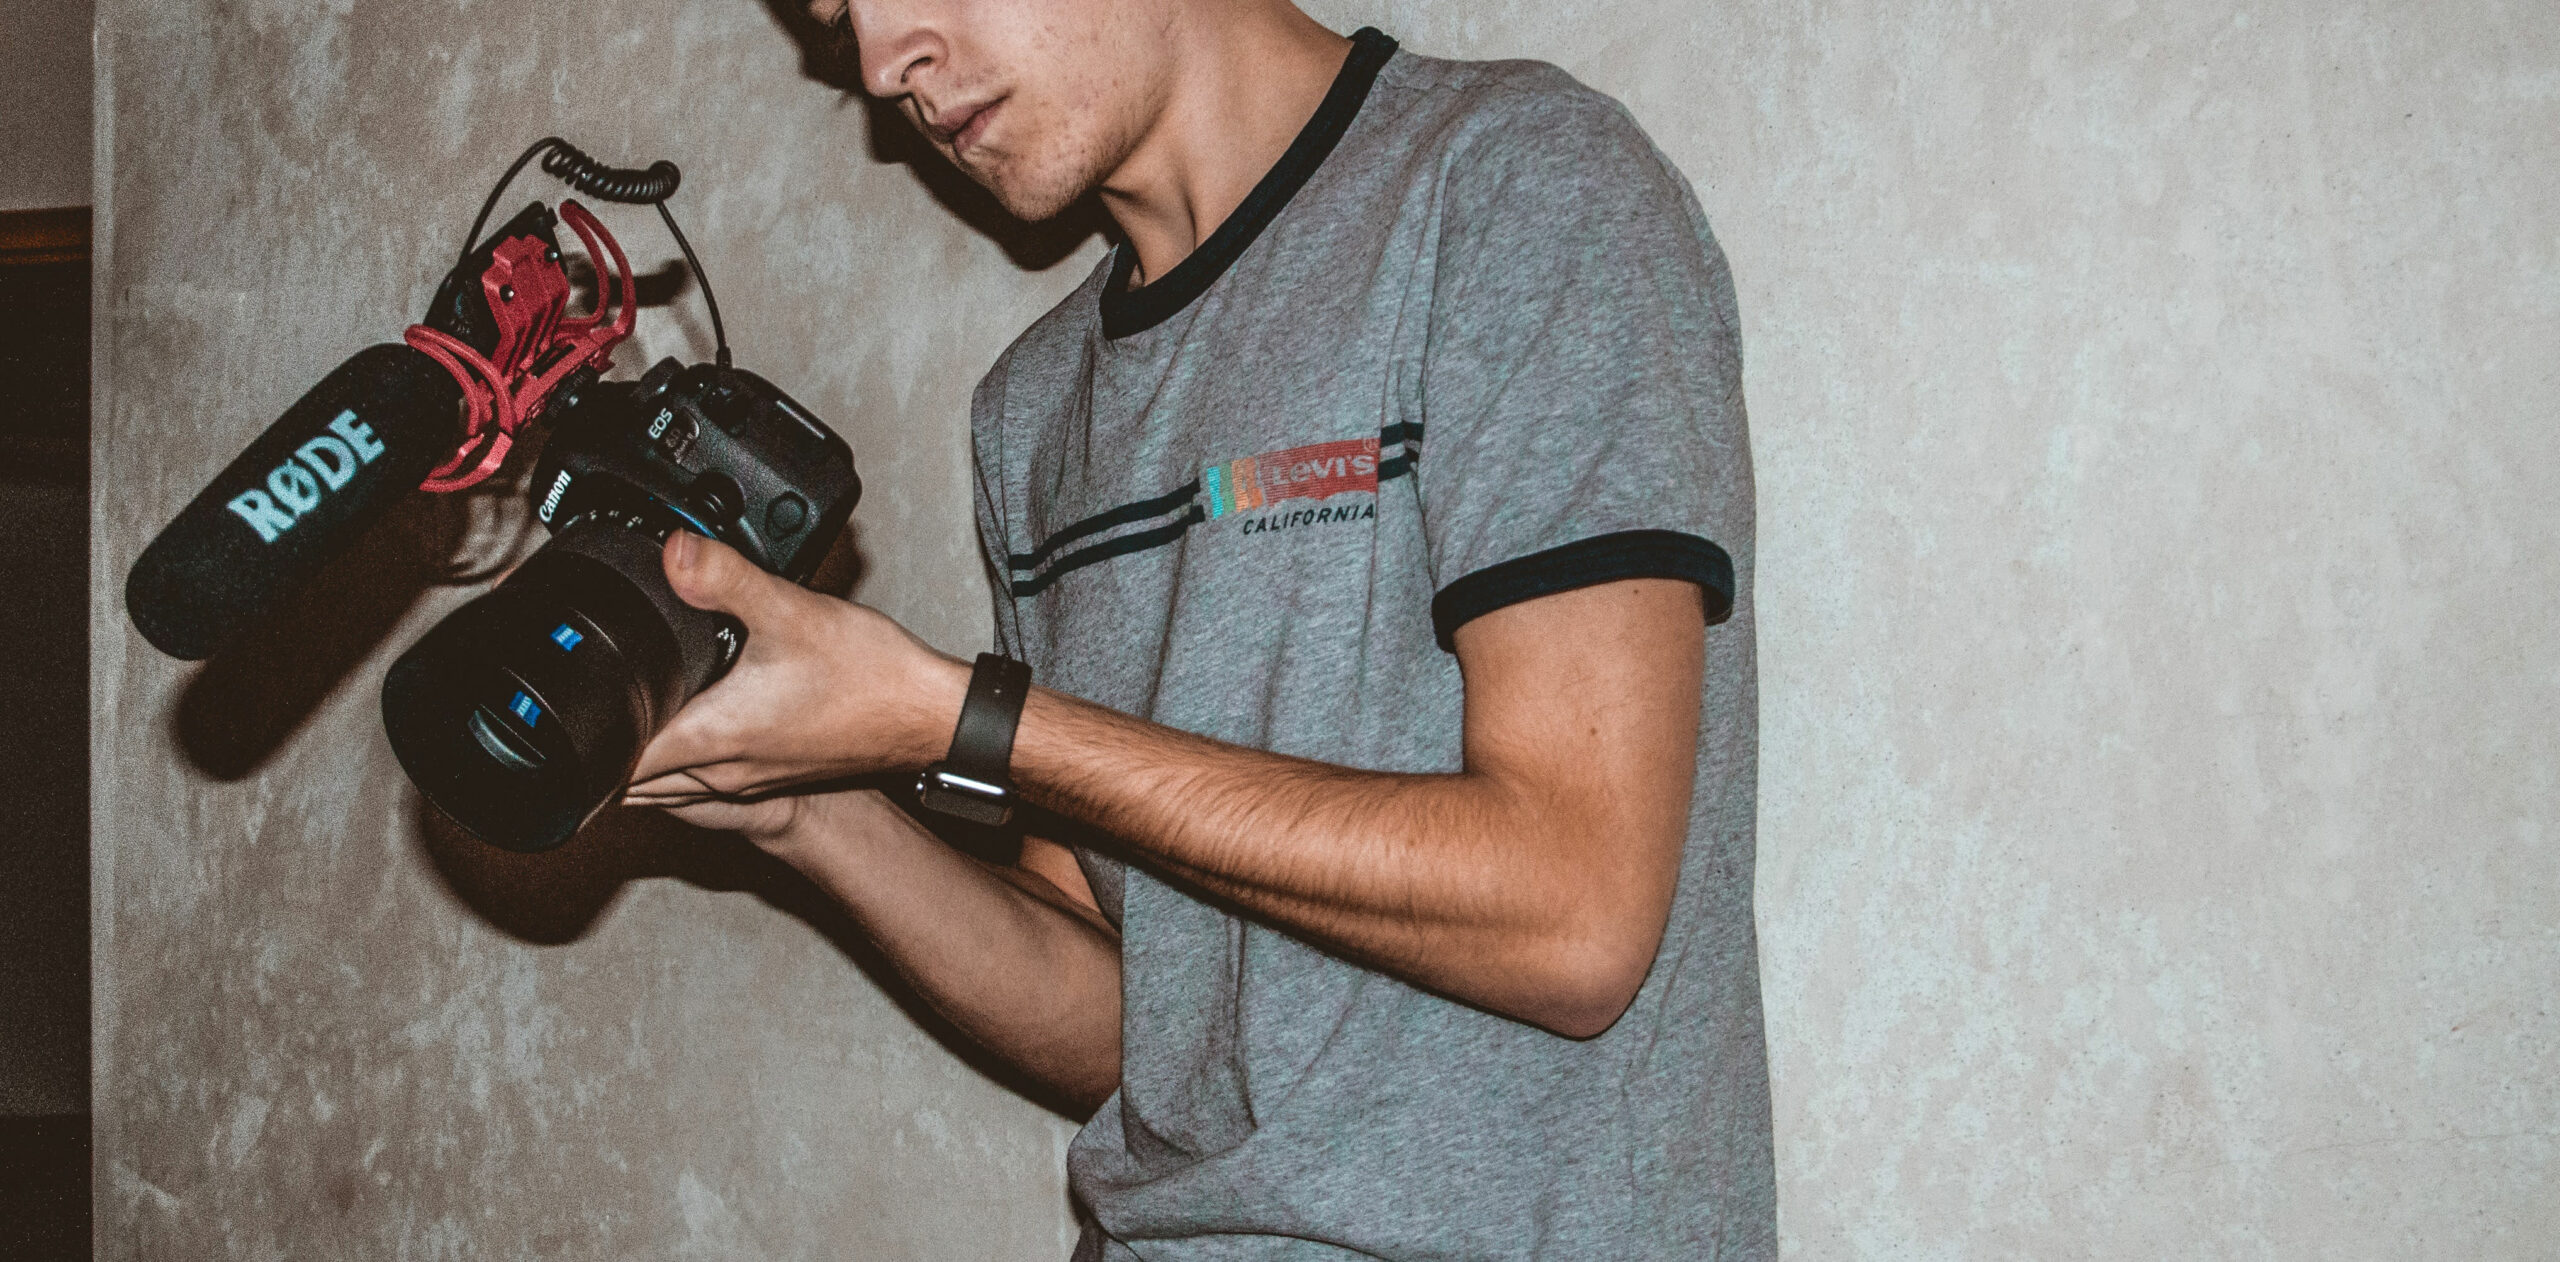
If there is dialogue in the scene, then obviously you need to make sure the audio is being recorded so that casting directors can hear what’s being said. You can use smartphone headphones to record the self-tape but external microphones that plug into your camera can be a good investment as they produce a better quality sound.
Our top sound tips:
- Avoid background noise. People tend to tune out background noise so when you’re picking somewhere to film a self-tape, you should stop and really listen to the sounds. In your home, you might hear the hum of your fridge, an extractor fan, plumbing noises etc. Your camera will pick all of it up, and it will sound louder on camera than it actually does to your ear so turn them off or try to pick somewhere quieter.
- Close your windows. Microphones can easily pick up any outside noise such as traffic or kids playing so you should close your windows to block as much out as possible.
- Recording audio on smartphone headphones. If you have wired or Bluetooth headphones for your smartphone, you should be able to use them by setting the audio input of the camera to the microphone on your headphones.
- Performer placement. If you choose not to use an external microphone then place the performer close to the camera so the voice is loud enough to be recorded. Remember that the person reading in should not say the lines too loudly on the recording.
External microphone recommendations:
if you’re looking to invest in an external microphone then these are our suggestions, although cheaper versions are available if you search online:
- RØDE Videomic GO is a lightweight microphone that plugs into DSLR cameras. When you’re recording, place the microphone close to the performer so that it catches a nice clean sound.
- RØDE smartLav+ is a wearable microphone that can clip to the performer’s clothing. It’s compatible with Apple and Android devices.
- If the performer is sat a distance from the camera, you may need to get an extension cable called a TRRS 3.5mm jack extension cable that will carry the microphone information as well as the sound.
We have lots more information and advice about self-taping, including some helpful videos and a podcast episode. If you have any questions that we haven’t answered then you can get in touch with us at questions@spotlight.com.
Image by Marcel Strauss via Unsplash.

